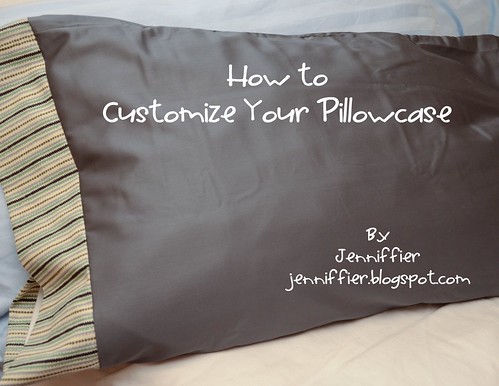
I wanted to make some pillowcase for Christmas but, I wasn't into the whole making pillowcase from scratch thing. As far as I could tell, from the tutorials for pillowcases online, it was going to be a couple yards of fabric, just for the case, plus more fabric for the cuff. Although it look super easy, I started adding all this up in my head and though there had to be a better way. Plus as far as my sheets go they usually have a higher thread count and are much softer than quilting cotton. Plus pillowcases really don't cost that much (at least not as much as a couple yards of fabric. So I decided to find some really nice pillowcases on sale and customize the store bought pillowcase to match the quilt. Now just because I like to share, I thought I would make a little the tutorial for you.
Supplies:
- A pillowcases
- 9 inches x Width of Fabric (WoF) peice of fabric
-thread
-sewing machine
-iron
-seam ripper
-rotary blade, mat and ruler
-measuring tape
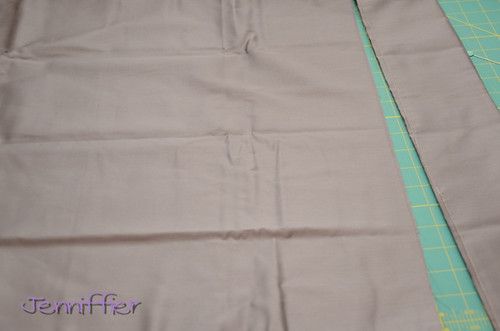
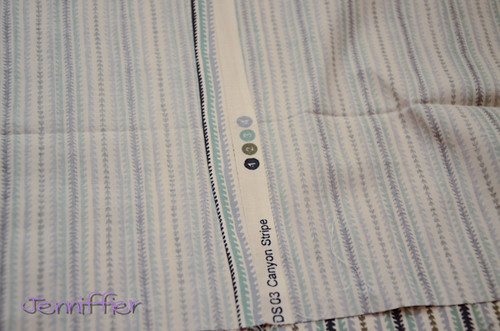
Step Two: Measure the whole perimeter (P) of the opening to your pillowcase with your measuring tape and measure the width of your fabric. It is important that you measure all the way around the pillowcase rather than just measuring one side. I found that the store bought pillowcase often bunched up and I wasn't able to get a good measurement without measuring all the way around.
Your width of fabric needs to be 1 inch longer than your pillowcase to allow for seam allowance. With my pillowcase the perimeter (P) of the opening was 42 inches and lucky for me the WOF happened to be 43.
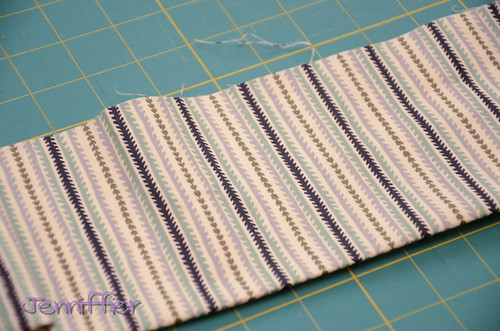
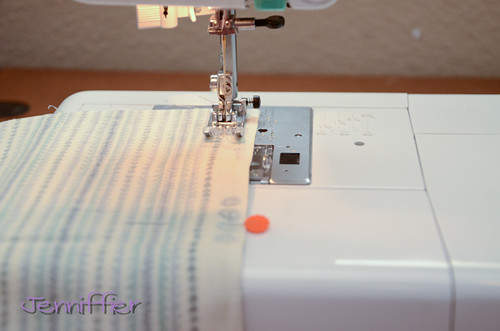
Step 5: Sew together with a 1/2 inch seam allowance to make the cuff.
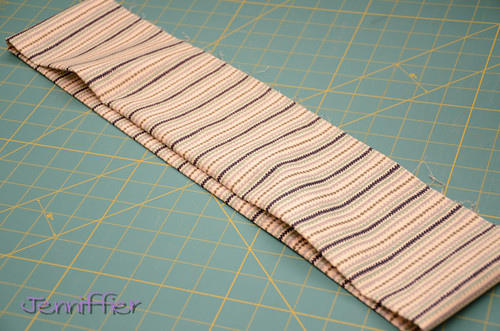
Step 6: Press seam allowance open.
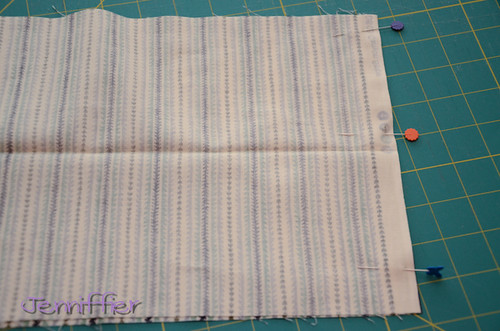
Step 7: Flip the cuff right side out and use the previously ironed line to help you make a nice cuff. Lightly press again.
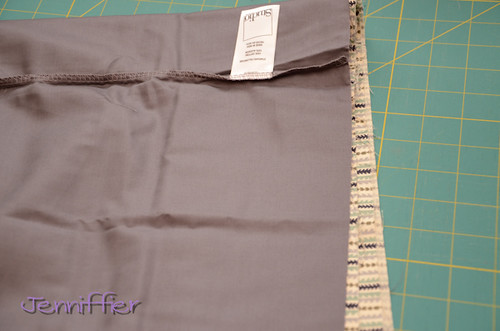
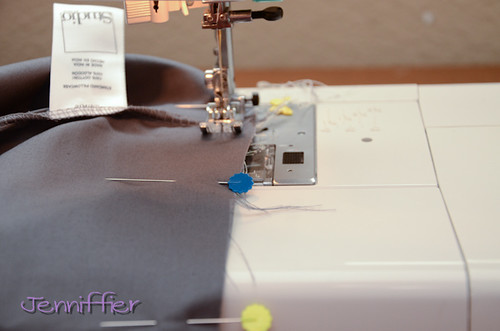
Step 8: Turn your pillowcase inside out, so the seams are now on the outside. Put your cuff inside the pillowcase and pin well. Make sure right sides are together.
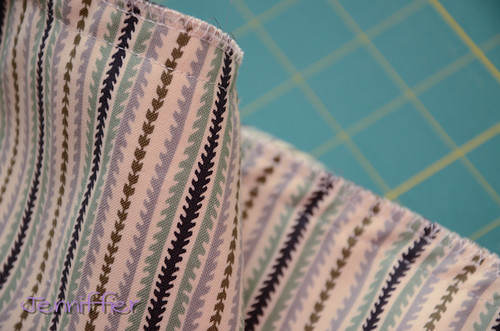
Step 10: Turn the pillowcase right side out and make sure everything look good. Look all the way around making sure that the fabric didn't slip at all and your seam looks good.
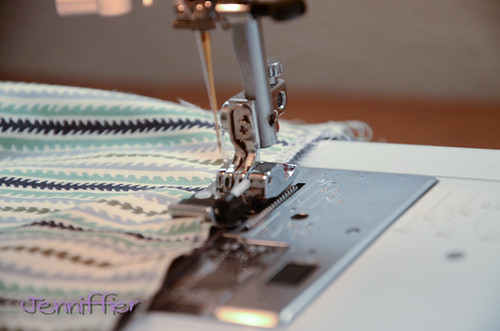
Step 11: Finish the raw edge.
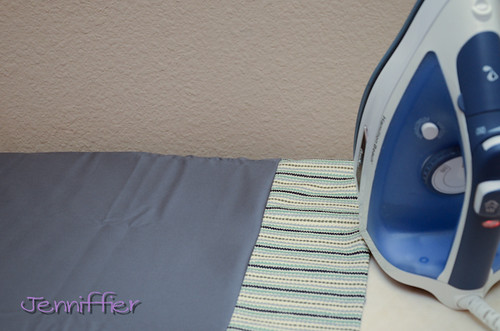
Step 12: Turn right side out again and press.

Linking to: Skip to my Lou


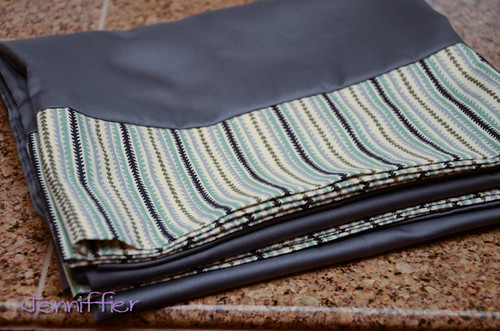

It looks very nice, I am sure your Gramps will appreciate this lovely addation to his quilt!
ReplyDeleteHey, cool! The cases are perfect now for the quilt!
ReplyDeleteBrilliant idea!! The quilt you made is fabulous too!
ReplyDeleteI agree that this is a brilliant idea!!! Your reasons for doing it make perfect sense - thanks for making me think outside the box. I appreciate your tutorial.
ReplyDeleteThank you so much to your ideas! I just made these and they turned out so great! Thank you thank you!
ReplyDeleteGretta Hewson
Veritable Fishing Lodge Alaska Website
Assume paid for with the help of center, have discovered modern society; believed that protect on your playlists, you could potentially know most of the hassle; assumed ones step quit, much more is unable to drive; Imagine I would like adore, merely the caress. mulberry silk pillowcase
ReplyDeleteYou can use one on a Twin, usually two for Full or Queen mattresses, and anywhere from 3 to 6 pillows on a King or California King bed best silk pillowcase A pillowcase protects the pillow on which you lay your head to relax, or fall asleep
ReplyDeleteReally thank you providing the list and your blog. Thank you for the useful post. If you're looking for a set of distinctive kids pillowcase, click the link. Thanks a lot.
ReplyDelete